
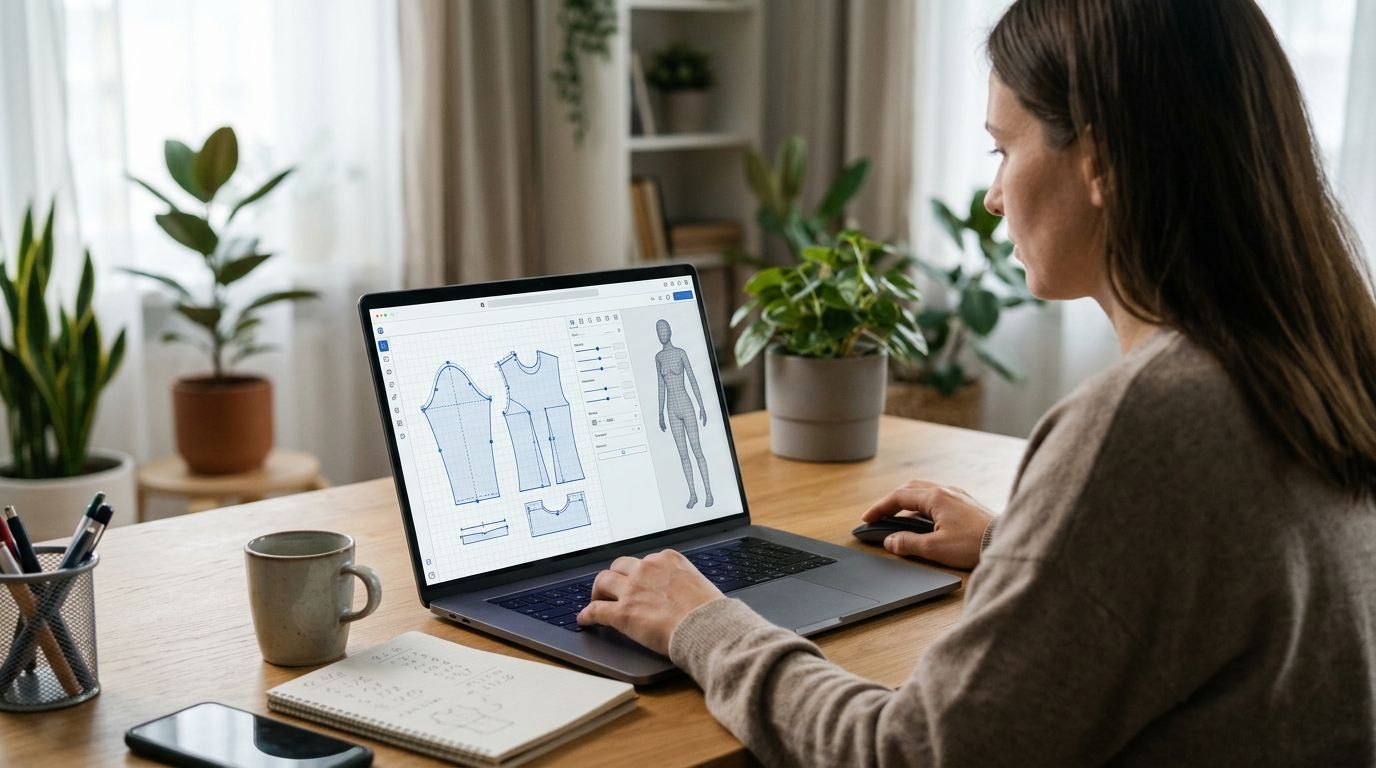
Have you ever imagined an outfit but struggled to find something similar in stores? Perhaps the design looks perfect, but the fit feels wrong. Standard clothing sizes cannot always match individual body proportions. This is where custom pattern development becomes useful. It gives you more control over garment shape, measurements, style, and comfort.
Custom Sewing Patterns help turn personal clothing ideas into practical designs. Instead of adjusting your style around ready-made sizes, you can develop a pattern around your measurements. Understanding the process makes it easier to plan garments, select suitable fabrics, and achieve a better fit. From taking measurements to testing the final design, every step contributes to the finished result.
Understanding Custom Patterns
A sewing pattern is a guide used to cut fabric into specific garment shapes. It contains individual pieces that fit together during construction. These pieces may include sleeves, collars, bodices, waistbands, pockets, and other garment sections.A custom pattern is developed around particular measurements and design requirements. It considers body proportions rather than relying only on standard size charts.
This approach is useful when someone needs a closer fit or wants to create a particular clothing style.Patterns also provide consistency. Once a suitable pattern is prepared, it can be used again with different fabrics. Small design changes can create new garments without starting every project from the beginning.
Start With a Clear Design
Before drafting a pattern, decide what you want to make. A clear design idea helps determine the garment's structure, measurements, and construction method.
Define the Garment Style
Start by identifying the type of clothing you want to create. It could be a fitted T-shirt, loose top, skirt, shorts, or baby pants. Each garment requires different pattern pieces and construction details.
Consider the neckline, sleeve length, waist position, hemline, and overall shape. A simple sketch can help communicate these details. You do not need advanced drawing skills. Even a basic front and back view can make the design easier to understand.
Consider Fit and Comfort
Think about how the garment should feel when worn. A fitted design needs different measurements and shaping than a relaxed garment. Consider movement, sitting, walking, and everyday activities.For example, a fitted shirt may need additional shaping around the chest and waist. Loose shorts may require more room around the hips and thighs. Planning these details early helps prevent unnecessary changes later.
Take Accurate Measurements
Measurements are the foundation of a well-fitting pattern. Incorrect measurements can affect the entire garment, even when the drafting process is correct.
Essential Body Measurements
The measurements you need depend on the garment. However, several basic measurements are useful for many clothing projects.
- Bust or chest: Measure around the fullest part of the chest.
- Waist: Measure around the natural waistline.
- Hips: Measure around the fullest part of the hips.
- Shoulders: Measure across the back between shoulder points.
- Arm length: Measure from the shoulder to the required sleeve length.
- Body length: Measure from the shoulder or neckline to the desired hem.
- Inseam: Measure from the crotch to the required trouser or shorts length.
Use a flexible measuring tape and keep it comfortably positioned. It should not pull tightly against the body or hang loosely.
Avoid Common Measuring Mistakes
Stand naturally while taking measurements. Do not pull your stomach inward or change your posture. Keep the measuring tape level where required.
Take each measurement more than once. If the results differ, measure again and record the most reliable figure. Wear light clothing during measurement because thick garments can affect accuracy.
Keep a measurement record for future projects. Include the date because body measurements may change over time.
Choose the Right Pattern Type
Different pattern formats suit different sewing needs. Your choice depends on the garment, available tools, experience, and preferred working method.
Paper Patterns
Paper patterns are printed or drafted on physical sheets. They can be placed directly on fabric during cutting. Many sewists prefer them because the pieces are easy to handle and mark.However, paper patterns need suitable storage. They can become damaged, folded, or difficult to organise. Large designs may also require several sheets joined together.
Digital Sewing Patterns
Digital patterns are supplied as downloadable files. They can be stored on a computer and printed when required. Some formats allow users to select sizes or enter measurements before generating pattern pieces.
Digital files are convenient for repeated use. They also reduce the need to store large collections of physical sheets. However, printing settings must be correct. Always check the test square before assembling printed pages.
Made-to-Measure Patterns
Made-to-measure patterns use individual body measurements as their starting point. They can help address differences between standard size charts and actual body proportions.For example, someone may need one size around the chest and another around the waist. A personalised pattern can account for these differences more effectively than choosing one standard size.
Understand Pattern Drafting
Pattern drafting converts measurements and design ideas into garment pieces. It requires accuracy because small changes can affect how different sections fit together.
Create the Basic Shape
Begin with the main garment sections. A simple top may require front and back bodice pieces, sleeves, and neckline finishing. Shorts may need front and back leg pieces, a waistband, and pocket sections.Use drafting paper, a ruler, a measuring tape, and a pencil. Mark important points carefully. These include waistlines, hip lines, shoulder points, armholes, and seam positions.
Add Seam Allowances
Seam allowance is the extra fabric included around pattern edges for stitching. Its width depends on the garment and construction method.Mark seam allowances clearly so they are not confused with the actual garment dimensions. Also identify hems, fold lines, notches, and grainlines. These markings help maintain accuracy during cutting and sewing.
Check Pattern Alignment
Pattern pieces must connect correctly at their joining edges. For example, a sleeve should fit the armhole, while waistband sections should match the garment waist.Compare adjoining edges before cutting fabric. Check their lengths and curves. This simple step can prevent problems during garment assembly.
Select Suitable Fabric
Fabric choice affects how a garment hangs, stretches, and feels. A pattern designed for woven fabric may not work properly with stretchy knit material.
Match Fabric to the Design
Consider the fabric's weight, texture, stretch, and drape. Lightweight cotton may suit everyday shirts, while heavier fabrics may work better for structured skirts.Knit fabrics are commonly used for T-shirts and comfortable shorts. They stretch and move with the body. Woven fabrics generally offer more structure and may require different ease allowances.
Check Fabric Grain and Stretch
The grainline indicates how pattern pieces should be positioned on fabric. Following it helps garments hang correctly and prevents unwanted twisting.
For knit garments, also check the direction of stretch. Place pattern pieces according to the fabric's stretch requirements. Ignoring this detail can affect comfort and garment shape.
Test the Pattern Before Final Sewing
A first pattern should be treated as a starting point. Testing it helps identify fitting issues before using expensive or final fabric.
Make a Test Garment
A test garment, often called a toile or muslin, is made from inexpensive fabric. It allows you to check the pattern without committing to your chosen material.Use the intended construction method where possible. Try the garment on and examine its shape, length, and movement. Check whether the neckline, shoulders, waist, and other sections sit correctly.
Identify Areas That Need Changes
Look for tight areas, excess fabric, uneven hems, and pulling lines. These signs can indicate that the pattern needs adjustment.
Make one adjustment at a time. Then test the garment again to see whether the change improves the fit.
Make Adjustments for Body Shape
People have different body proportions, even when their overall measurements appear similar. Pattern adjustments help accommodate these differences.
Adjust Length and Width
Some garments need additional length through the body, while others require changes around the waist or hips. Adjust the relevant pattern sections without changing unrelated areas.For example, a person with a longer torso may need extra length in a top. Someone with wider hips may need more room through a skirt or shorts pattern.
Consider Movement and Ease
Ease is the difference between body measurements and garment measurements. It provides room for movement and affects how fitted or loose clothing feels.A garment with insufficient ease may restrict movement. Too much ease can make it look oversized. The correct amount depends on the fabric, design, and intended fit.
Use Pattern Tools and Markings
The right tools make drafting and cutting more accurate. Beginners can start with basic equipment and add specialised tools as their skills develop.
Useful pattern-making tools include:
- Measuring tape for body measurements.
- Pattern paper for drawing and storing designs.
- Clear rulers for straight lines.
- French curves for smooth garment shapes.
- Pencils and erasers for drafting changes.
- Fabric scissors for accurate cutting.
- Pins or pattern weights for holding pieces.
- Notions for marking and construction.
Learn common pattern symbols before sewing. Grainlines, darts, notches, fold lines, and cutting instructions each have a specific purpose. Understanding them reduces confusion during construction.
Common Mistakes to Avoid
Small mistakes can affect the fit and appearance of a finished garment. Careful planning helps prevent many of these problems.
Using inaccurate measurements: Guessing measurements can lead to tight or loose clothing. Measure carefully and record the results.
Ignoring fabric properties: Different materials behave differently. Always consider stretch, weight, and drape before using a pattern.
Skipping the test garment: Sewing directly with final fabric can make corrections difficult. Test the pattern first when possible.
Forgetting seam allowances: Missing allowances can make the finished garment smaller than expected. Mark them clearly before cutting.
Ignoring pattern markings: Grainlines and notches help pieces align correctly. Follow them during layout and construction.
Making several changes together: Changing multiple areas at once makes fitting problems harder to identify. Adjust one section, then test again.
Organise and Reuse Your Patterns
Good pattern organisation saves time on future sewing projects. Store paper patterns in labelled envelopes or folders. Include the garment name, size measurements, date, and any fitting notes.Digital patterns should be saved in clearly named folders. Keep original files separate from edited versions.
This makes it easier to return to an earlier design if a later adjustment does not work.Record successful changes after completing a garment. These notes can help when creating another version. You may also adapt a basic pattern by changing sleeves, necklines, lengths, or other design details.
Conclusion
Turning a clothing idea into a well-fitting garment takes planning, accurate measurements, suitable fabric, and careful testing. Each stage helps create a pattern that reflects the intended design and body proportions. Custom Sewing Patterns provide a practical starting point for making clothing with greater control over fit and style. By learning measurement techniques, understanding pattern markings, testing designs, and recording adjustments, you can develop patterns that are easier to reuse and improve. Careful preparation makes the sewing process more predictable and helps bring personal clothing ideas into reality.
Frequently Asked Questions
1. What information is needed to create a custom clothing pattern?
You generally need accurate body measurements, garment style details, fabric information, and preferred fit. The required measurements depend on the clothing type and its construction.
2. Can beginners make their own sewing patterns?
Yes. Beginners can start with simple garments such as basic tops, skirts, or elastic-waist shorts. Learning measurements, pattern symbols, and basic drafting techniques provides a useful foundation.
3. Why should a pattern be tested before final sewing?
Testing helps identify problems with length, width, and movement before using final fabric. A test garment makes adjustments easier and can reduce wasted material.
4. Do different fabrics require different sewing patterns?
Yes. Knit and woven fabrics have different stretch and drape properties. Pattern ease, construction methods, and measurements may need adjustments to suit the selected material.
5. Can a sewing pattern be reused for different garments?
Yes. A basic pattern can be adapted by changing details such as sleeves, necklines, lengths, and waistbands. Keep notes about successful adjustments for future projects.